The Monthly Mushroom: Oyster Mushrooms (Pleurotus ostreatus)

Looking for fungi in the wild is one thing, but if you really want to get to know your mushrooms, what better way than to grow your own? With growing kits for a good number of different varieties available from various shops or online sources, it is not quite the dauntingly complex process you might think (see final image below).
By far the easiest to cultivate at home are Oyster mushrooms (Pleurotus sp.), which thrive on a variety of substrates. Paul Stamets’ seminal Mycelium Running: How Mushrooms Can Help Save the World (2005) contains photos of them thriving on straw, corncobs, human hair, wood chips, old clothing and even a straw-stuffed armchair. The most common of the “exotic” types to start making their way into our supermarkets over the past couple of decades, the Oyster mushroom owes its name more to its shape than its delicate taste and texture. They are best cooked by lightly frying or adding to stir fries, as unlike our common, button or horseshoe types, they tend to melt away to virtual nothingness with prolonged stewing. They are also considered incredibly healthy, low in calories yet high in nutrients and with many recorded antioxidant, anti-bacterial and immune system-boosting effects .
Oyster mushrooms are also a wonderful way of returning discarded organic waste back to nature and getting a tasty food source in the process, and some urban cultivators have been incredibly inventive in turning this to commercial advantage. In recent years, a number of endeavours have hit the news by transforming the byproducts of our unwavering caffeine addiction into viable businesses, such as these examples in Seattle, Vienna and Brighton .
The Common or Grey Oyster variety Pleurotus ostreatus, with its shell-shaped cap with in-rolled edges that uncurl as it grows, the colour ranging from cream or camel-coloured or light grey to lilac black, and with white flesh, gills and spores, is commonly found in the UK. I once even discovered it forcing its way through a crack in a pavement in South London, perhaps spawned from spores escaped from a passing supermarket shopping bag.
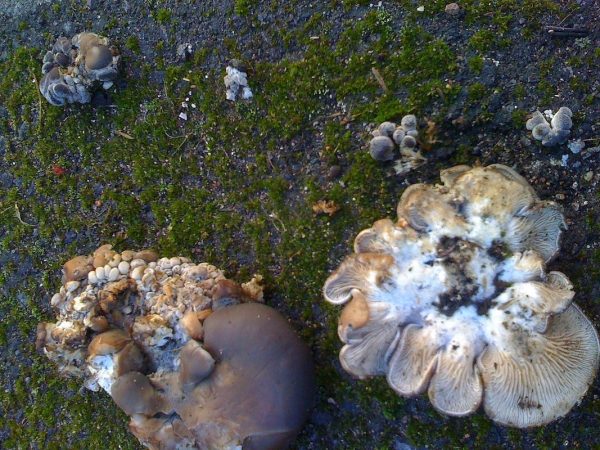
Oyster - Pavement in Peckham, SE London
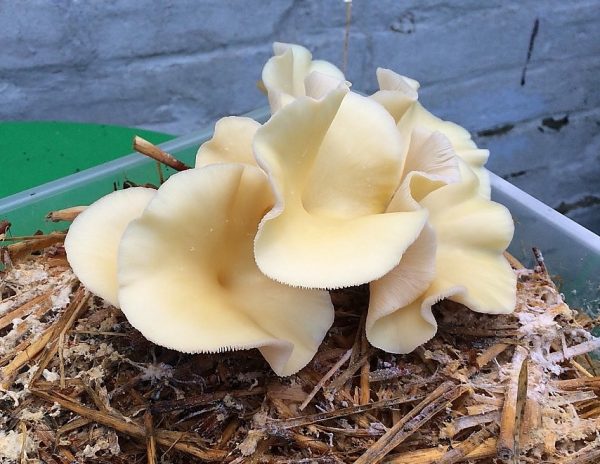
There are also other more colourful varieties you might want to cultivate, such as the Pink Oyster (Pleurotus djamor), the Yellow Oyster (Pleurotus citrinopileatus), Blue Oyster (Pleurotus ostreatus var. columbinus) or the largest and most culinarily-prized of the bunch, the thick-stemmed brown-capped King Oyster (Pleurotus eryngii).
The Yellow Oyster
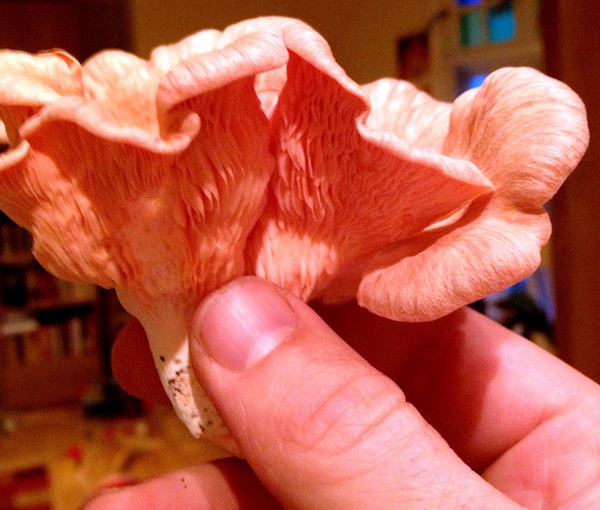
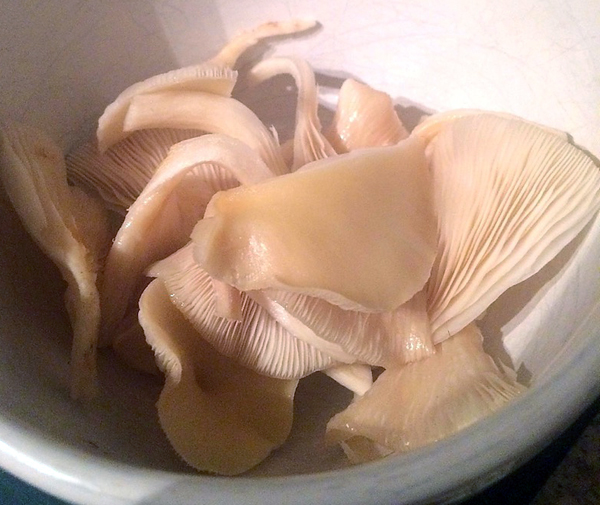
Pink Oyster (harvested)
Aside from their cosmetic qualities, the obvious attraction to growing your own is that it is a lot cheaper than buying them from the shops, with the added advantage that you aren’t contributing to the stockpile of plastic cartons making their way into our landfills and oceans. Whatever substrate you are using, it is most important that it is sterile, so that once you introduce the spores, most commonly provided in the form of grain spawn (literally grain covered in mushroom spores), the mycelium is allowed to develop without fear of competition from contaminants such as bacteria, other fungi or insects.
Making sure your hands are well washed first, the simplest way of doing this if you are using straw as a substrate, is by simply immersing it in water heated to around 80oC (not boiling) for about an hour, a la pasteur.Of course, you’ll need a cooking pot big enough to cover the amount of straw you are using (which should be about a carrier bag’s worth). Then using tongs, place the pasteurised straw into a large clean tub and then, once it has cooled to room temperature and the excess water has drained off (you’ll kill the spores you are going to mix into it if your substrate is too hot), place the straw in whatever you are going to grow the mushrooms in.
Growing on straw
This can either be a heavy duty plastic bag, or I often use the type of seed trays with lids that you can purchase at any gardening supplier. If using a bag, you will need to puncture a number of small holes in it with a skewer to allow air in: without oxygen the mycelium won’t grow but various noxious anaerobic bacteria probably will.
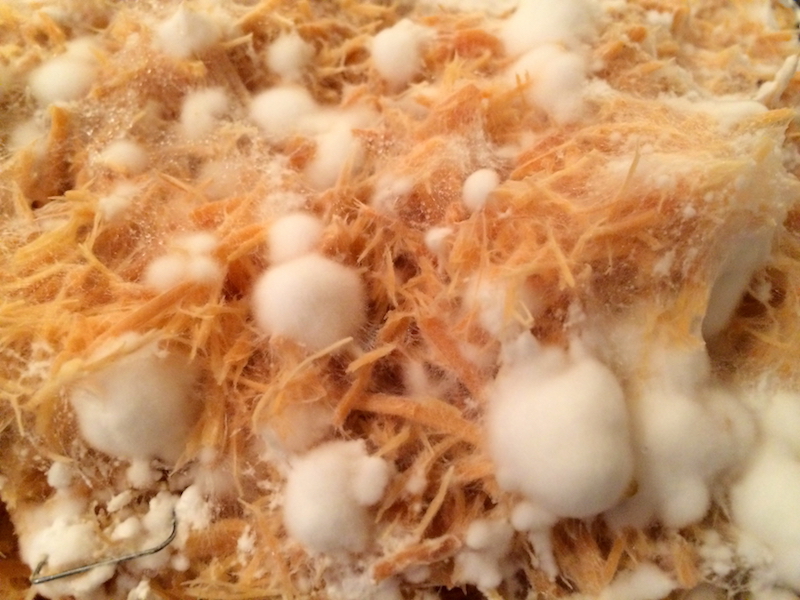
Then evenly mix your grain spawn into the pasteurised damp straw substrate and put the bag (or seed tray) in a warm dark place to incubate, keeping it at a temperature of around 15-20C. Within a matter of days, you’ll notice the cotton-like white threads of the mycelium growing from the spawn and across the substrate. You’ll need to keep the straw damp (though not sopping wet) using a mist spray bottle full of cooled previously boiled water. If secondary moulds occur, which are usually quite obvious as they tend to be green or black, then its best to start again.
After about a month, the straw will have been completely colonised, and you should see the pins of the actual fruiting body growths appearing.
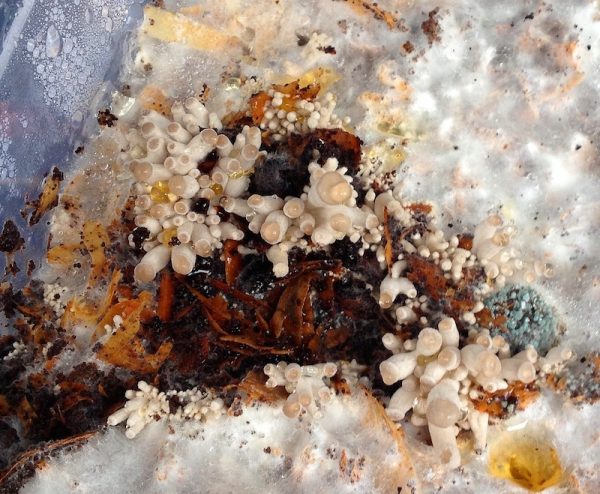
Grey Oyster - pins appearing on straw & coffee base
You can then further encourage this growth by “shocking” it into further action, placing it somewhere slightly colder and increasing the surrounding humidity by spraying it more frequently so as to emulate Autumn. Place your colonised substrate somewhere lighter, although not in direct sunlight. If you are using a bag, you’ll want to cut some larger holes in it at this point to let the mushrooms grow through, but make sure not to let it dry out.
At this point the mushrooms will start growing quickly and should be ready for harvest within a week. Twist them to remove them, leaving a portion of the stem still in the substrate, as this will allow further flushes to grow. If you pull out the whole stem, you are much less likely to get successive crops. Once you are done, the used substrate can go in the compost heap or you can use it as garden mulch – and if you are lucky, you could well be seeing further flushes over the coming seasons from whatever patch you use it on.
It goes without saying that there is more than one way to skin a cat, so I advise checking out a wide range of sources to fine-tune your results. Among the most thorough books on the subject is Peter McCoy’s exhaustive Radical Mycology: A Treatise on Seeing & Working With Fungi (2016), which provides plenty of handy tips.
The more scientifically-minded and experienced mushroom cultivator will certainly keep a firm hand on the various factors that can influence growth, whether this be the substrate used, the sterilisation method, or the levels of light, humidity and carbon dioxide during the growing process.
I have experimented with a number of different substrates to varying results. Sawdust, available at pet shops, works well, as long as it is hardwood sawdust (i.e. not from conifers).
Growing on sawdust
Most cultivators would advocate sterilisation using a 3% hydrogen peroxide solution rather than pasteurisation for sawdust substrates. As well as eradicating potentially noxious microbes, this also gives the mycelium a head start in breaking down the wood pulp so it colonises it quicker. Don’t worry, it is completely non-toxic as the Oyster mushroom mycelium will break down the acid into its basic components of oxygen and water.
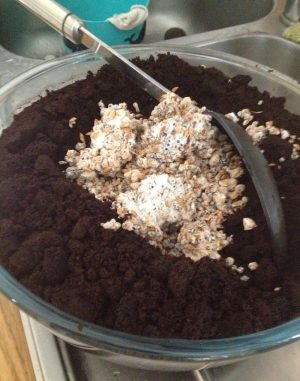
Coffee grounds have the advantage of already being pasteurised to some extent by the mere fact of having had boiling water forced through them, although if you are using your own from a cafetière, chances are you’ll have to leave them lying around for sometime before you accumulate enough to form an adequate substrate, by which time there is every chance they’ll have been contaminated from airborne spores. However, if they are completely bone dry (any local coffee shop will be happy to let you have them), you can just stick them in the microwave for a few minutes to kill off any 'germs'.
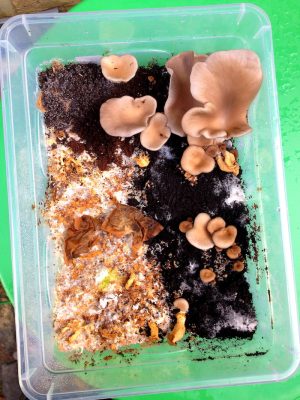
My own experiments using a container with sawdust on the one half and coffee grounds on the other demonstrate that Oyster mushrooms grow far better on the latter (the teabags scattered on the surface left untouched by the mycelium suggest this is not a really a viable growing medium). Actually, mixing in the nutrient-rich coffee grounds into any other substrate will certainly give your Oyster mushrooms a boost, and again, the mycelium appears to break it down so thoroughly that you won’t detect any potential caffeine rush when it comes to eating.
And herein lies the magic of this particular mushroom. Oyster mushrooms are so adept at breaking down their substrates into their most basic elements that they have been posited as a key species in the new field of what is called myco-remediation – using fungi as a natural method of cleaning up industrial pollutants
Such technologies are still in their infancy at the moment, although various projects are underway to assess how successful they might be in cleaning up pesticides and industrial discharges in American waterways and toxic petroleum-contaminated soils left by oil companies operating over a 30-year period in Ecuador, as part of The Amazon Mycorenewal Project .
As Stamets writes in a section of Mycelium Running entitled ‘Mycoremediation of Chemical Contaminants: Mushrooms as Molecular Disassemblers’, by using mycological solutions “brown fields can be reborn as green fields… by denaturing toxins such as petroleum products and absorbing heavy metals.”
While Stamets provides photographic evidence of mega-sized Oyster mushrooms flourishing on the site of a former gas station, “a testimonial to the nutrition they found in the petrochemicals”, with fungi’s well-documented tendency to accumulate toxic heavy metals such as cadmium, no one should be considering using these contaminated sites to keep their tables laden. Nevertheless, it should be abundantly clear that Oysters are voracious and sturdy enough to grow easily and cheaply at home for your own kitchen needs, and are also great fun to experiment with.
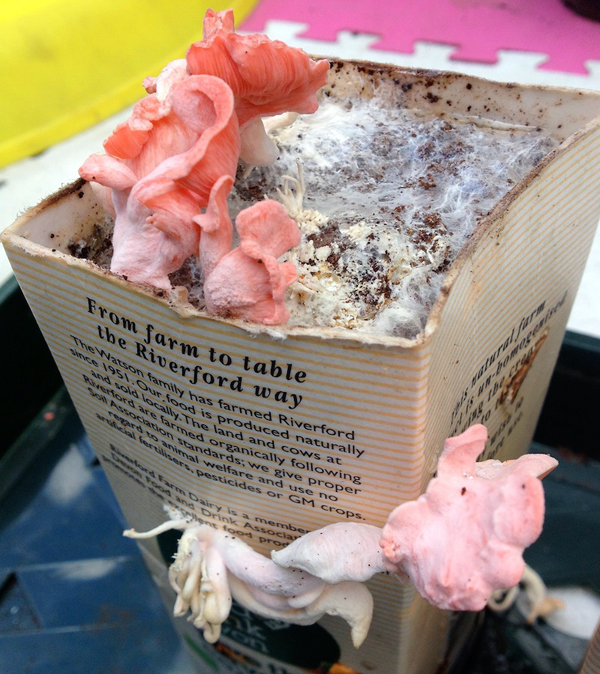
Pink Oyster kit
Comments are closed for this post.